Shellac, the photo of which has flooded the Internet, along with other manicure variations, is also popular today as gel polish. Many people often confuse these two types of coverage, although they have significant differences between them.
What is the difference between gel polish and shellac
Gel polish is a gel-based varnish coating that, on average, lasts from two to four weeks on the nails and keeps the appearance of a fresh manicure throughout this period, as if its owner had just left the nail salon.
The technology of applying gel polish ends with drying in an ultraviolet lamp, which fixes the coating on the nails, makes it resistant to external factors and gives it a special shine and depth of color.
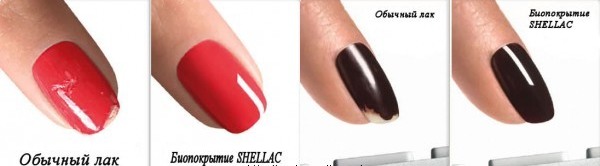
Shellac is similar in its composition to ordinary gel polish, but if more gel is concentrated in the latter than varnish, then in shellac the emphasis is on the opposite, on the varnish. Thereby shellac is more liquid in consistency than gel polish, and the procedure for its application resembles a conventional nail polish.
The rest of the differences include such points as:
- Application technique, removal procedure and duration of this process. Shellac does not require special grinding and preparation of the nail plate for coating, which preserves the natural thickness and structure of the nails. If we talk about the correction of the old manicure, then removing the coating does not require cutting, for this, special "fingertips" are used.
- Coating consistency, which allows you to apply shellac without the use of a special liquid chemical agent, which provides better fixation of the coating on the nail plate, unlike gel polish.
- Curing time coverings under the rays of the lamp on the nail plate. Shellac polymerizes faster than gel polish. The exact time depends on factors such as the number of coats applied, the light intensity of the shellac and the wattage of the lamp used.
- Color spectrum... Here shellac is somewhat inferior to gel polish in the vastness of the color palette, but the shades of shellac are deeper and more saturated than the tones of gel polish. And the now popular thermo-shellac can completely change the color of nails depending on the external temperature regime.
- The cost... Shellac is more expensive than gel coat.
What are the benefits of shellac for nails
A coating such as shellac has advantages that set it apart from other manicure tools:
- Safety of the composition for the nail plate. The tool does not spoil nails, making them thin or uneven, does not stop their natural growth, and, most importantly, does not cause allergic reactions.
- No significant pungent odor.
- For a long time wearing shellac without chips and cracks, its beautiful appearance in reality and in the photo.
Cons (harm) of shellac for nails
The main disadvantage of this type of coverage is its cost. Despite all its durability, shellac is subject to temperature changes. For example, when washing dishes in hot water, the shellac-covered nail expands, and when cooled at low temperatures, it narrows.
All this leads to the formation of microcracks invisible to the human eye. All sorts of bacteria can seep through these cracks under the nail, and the most harmless in this case will be the appearance of a fungal infection under the shellac.
The coating itself greatly dries the surface of the nail, and this can eventually lead to delamination of the nail plate, and the treatment will be a lengthy process.
Who is not suitable for nail polishing with shellac
Despite all the disadvantages and advantages of shellac described above, there are categories of people who are better off refraining from this type of manicure.
These people include:
- Owners of thin, weak and brittle nails... In their case, shellac is not worth waiting for, and the maximum period you should count on is 10-14 days, after cracks form, and shellac loses its beautiful pristine appearance.
- Those representatives of the fair sex whose lifestyle or temperament requires constant changes... Shellac is a resistant coating, and you won't be able to change it every 2-3 days, like a regular nail polish.
- Those women who accelerated nail growth... When the border of a fresh nail between shellac and cuticle begins to be seen, the manicure loses its appearance and begins to look untidy.
Can you be allergic to shellac?
Allergies can occur on any coating, since these products contain chemical components that can cause an allergic reaction.
To recognize it simply by the following symptoms:
- The appearance of watery blisters on the fingers.
- Swelling of the fingers, their redness and peeling.
- Itching of the hands and palms.
- The appearance of microcracks and various types of spots.
- Peeling of the nail or its final death.
How much is shellac for nails
The cost of the coating depends on whether it will be applied in a specialized salon, by a novice master or independently. Newbies charge a minimum price for their services, but their work does not always stand out for its quality. Professional craftsmen charge an average of 800 rubles for coverage.
How to make shellac on your nails at home
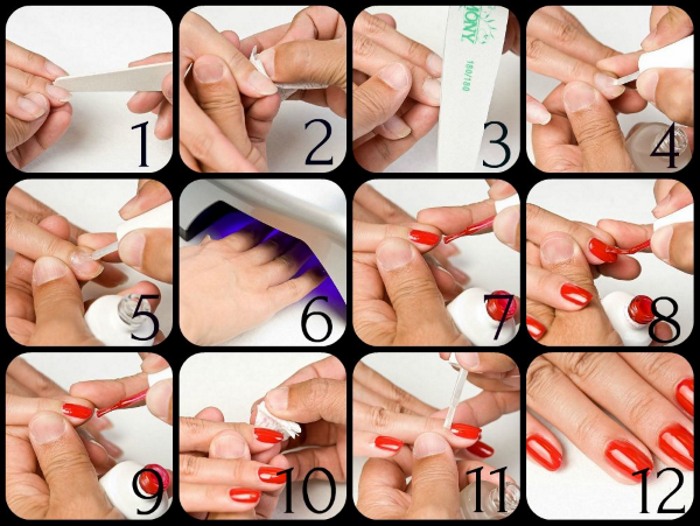
The entire application technique consists of several stages:
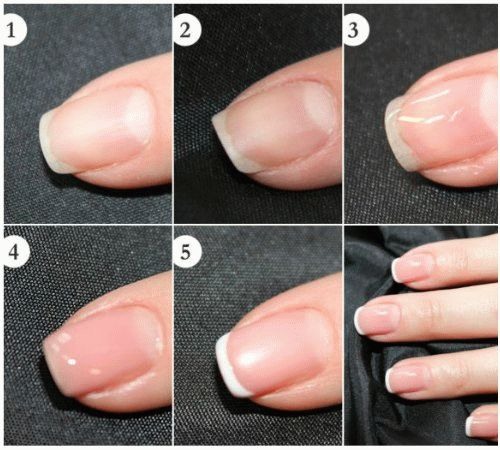
- Cuticle removal with an orange stick or with a special softening cream.
- Processing the nail plate with a sanding file.
- Disinfection of the nail from microbes and degreasing it with a special tool so that the coating is better fixed on its surface.
- Brushing the base onto the nail, then fixing it under the lamp for 1-2 minutes.
- Applying the first layer of the shellac itself, and again drying for two minutes.
- Application of the second layer and additional elements, and their subsequent drying by analogy with the first layer. In this case, each element is dried separately.
- Fixing with a top and final drying of the completed coating under an ultraviolet lamp, processing with lint-free wipes to remove the sticky layer after drying.
How to apply shellac correctly?
There are small nuances, knowing which you can make it easier for yourself to perform a manicure:
- Do not steam or moisturize your nails to remove cuticles.
- The nail should be sanded in the direction of its growth, and the file itself should be no more than 200 grit, so as not to thin the nail plate.
- It is forbidden to use cotton pads and napkins in work, as they can inadvertently leave nap on the nail, which is extremely difficult to remove without leaving a trace.
- When picking up varnish from a bottle, the brush should be lightly squeezed against the edge of the bubble to remove excess coating that can provoke bubbles.
- The first drop of shellac is applied to the center of the nail plate to prevent it from spreading beyond the edges of the nail, and only then is smeared on the sides.
- Colored shellac is applied in several coats, as one coat can look dull and faded. You need at least 2-3 layers.
- When exposed to ultraviolet rays, it is forbidden to remove your hand from the lamp to check whether the applied layer is dry or not.
- Decorative elements used in manicure are fixed on the penultimate layer, and after covering the nail with a top, the nail is lubricated with a special oil for additional moisture.
Shellac for short nails
The technology of applying shellac on short length nails does not differ from covering long nails.
But when choosing a design for such nails, you should consider some features:
- You should try to avoid too large or small decorative elements, red and black varnish, the use of more than three colors in the design of a manicure.
- You can visually stretch your nails using vertical patterns and drawings on shellac, or by giving the nail plate an oval shape. This effect will be especially noticeable in the photo.
- The most effective pattern for short nails is polka dots and diagonal lines.
French manicure (french) with shellac
For a French manicure, you need a basic shellac set and two white and pink / beige colored varnishes.
The application technique is similar to conventional shellac: first the base, then the main color, which can be applied in one layer. A white "smile" is drawn on top of the main color. But unlike the classic jacket, the use of stencils is prohibited in shellac, so it is drawn in two stages by hand.
The stencil border is applied with the first layer with thin strokes, then it is dried. The second is to correct the flaws, and then the result is fixed under the rays of the lamp.
For those who doubt their ability to draw a beautiful and even jacket by hand, you can use sliders - thin stickers with a printed pattern.
Homemade shellac set
Those who decide to do a shellac manicure on their own will have to spend money on a special basic set and subsequently buy additional colored varnishes in order to diversify the available color palette. A basic set costs on average from 3 thousand rubles, and each varnish costs 600-800 rubles.
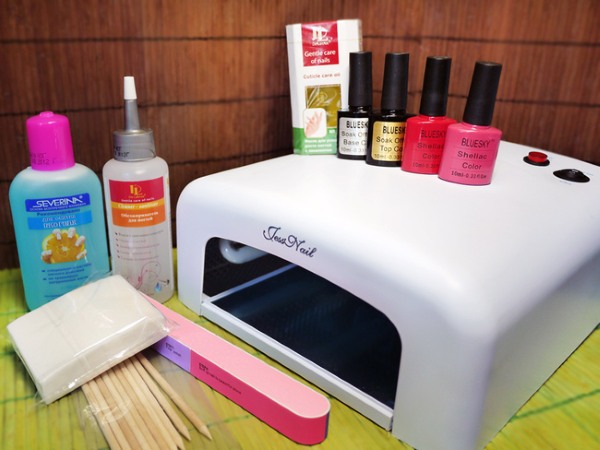
The basic set includes:
- Cuticle cleaner and orange manicure sticks set.
- Grinding soft file for processing the nail plate.
- Degreaser.
- Coatings: base, shellac, top-gloss and fixer.
- Lint-free wipes and tacky remover at the final stage.
Shellac LED lamp
The shellac LED lamp is used to dry the coating quickly. Its advantage is that it does not dry out the skin of the hands and is not harmful to health. This lamp is not always included in the basic shellac kit and can be purchased separately. In this case, its price will vary from 2-3 thousand rubles.
For home use, a 6 W lamp is enough.
This option is often used by masters who go home to do a manicure to their clients. This power is enough for the applied coating to dry in 10-30 seconds.
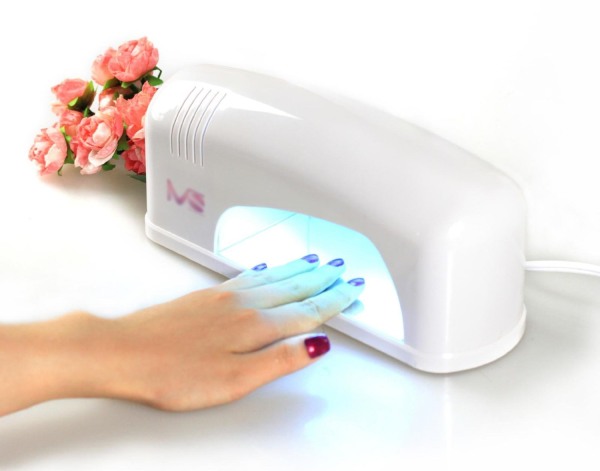
When choosing a lamp for drying, you should pay attention to those models where LED bulbs are placed inside not only on top, but also on the sides. This arrangement of lamps will allow you to evenly and quickly dry the nail plate.
Advanced models of LED lamps are equipped with touch sensors, which automatically respond to the appearance of a palm in the area of the lamps and turn on for a certain period of time set by the timer, and then turn off. This model is convenient because you don't have to track time yourself.
Shellac Correction
After 2-3 weeks, when the nails begin to grow back, the manicure loses its original appearance and requires correction.
In cases where the nail cover is preserved in perfect condition and the wearer likes it very much, it is possible not to remove it completely, but to make only a partial correction of the regrown part of the nail.
To do this, the length and shape of the nail is filed, the cuticle is removed, the old shellac layer in the place of its transition to the new coating is cut off with a special buff file, and the top coat is removed from the nail plate completely.
A degreaser and base are applied on top - with a thin layer on the old coating and thicker on the regrown nail - and dried. The desired color of varnish is applied to uncovered areas on the nail plate and each nail is dried separately after coating.
After that, another, adjusting layer of varnish is applied to all nails and dried. And from above, all the recreated beauty is fixed by the top, which also polymerizes under the rays of the lamp.
How to remove shellac at home
To completely remove shellac at home, you must prepare:
- Cotton pads in the amount of 5 pieces, cut in half.
- Ten squares formed from a piece of foil, each sized to wrap around your finger.
- Special liquid for removing.
- Orange sticks and a buff file with abrasive up to 180 grit.
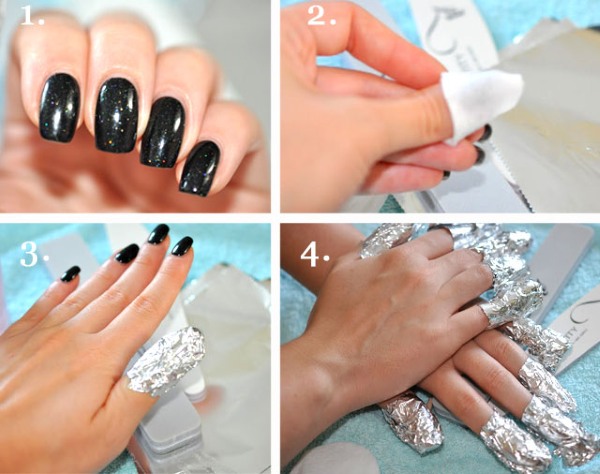
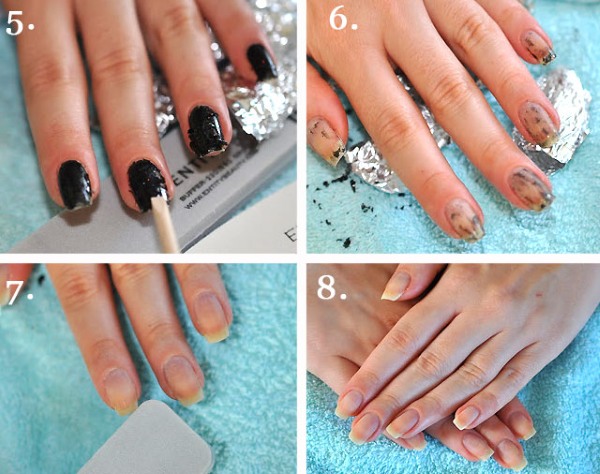
The technology for complete removal of shellac is as follows:
- If necessary, the main part of the applied coating is cut off with a file, so that it can be easily removed from the nail.
- Cotton rolls obtained from cut discs are soaked in liquid and applied to the nails.
- Each nail is wrapped with prepared foil and sealed for 10-15 minutes.
- After the "fingertips" are removed, and the remains of shellac are removed with an orange stick.
- After removing the shellac, the nails are polished.
- As a final step, you can make a relaxing nail bath and rub the nail oil into the nail plate to nourish it.
What liquid is needed to remove shellac
Regular acetone nail polish remover is not advisable to remove shellac, as its composition is not able to cope with a persistent coating.
To remove stubborn coatings such as shellac, we recommend using a shellac remover. You can find it not only from professional brands, such as Cnd and Severina, which differ in price category, but also from ordinary well-known cosmetic brands, for example, L'etoile.
Such products do not dry the nail plate and the skin around the nail., remove the coating easily and non-aggressively.
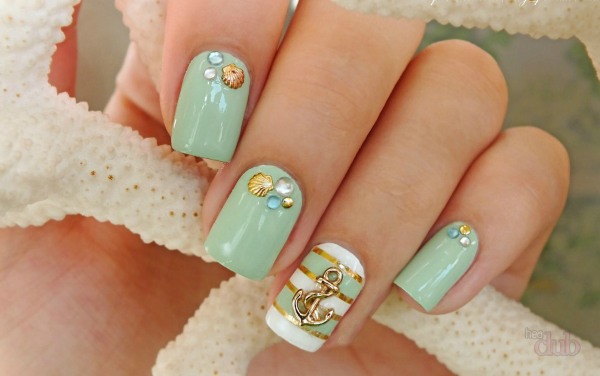
Shellac manicure ideas
Shellac, a photo of which can be found in abundance on the Internet, to this day remains one of the most popular types of manicure, and its design variations are striking in their diversity.
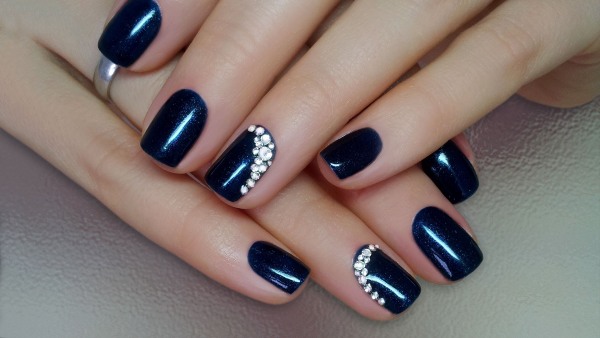
Shellac with rhinestones
Rhinestones are a great way to dilute a simple solid color finish, adding a special twist to it. All kinds of crystals of different shapes and sizes can be laid out in the form of a certain pattern or a small ornament on any marigold or all at once, or they can completely select one finger from all of them.
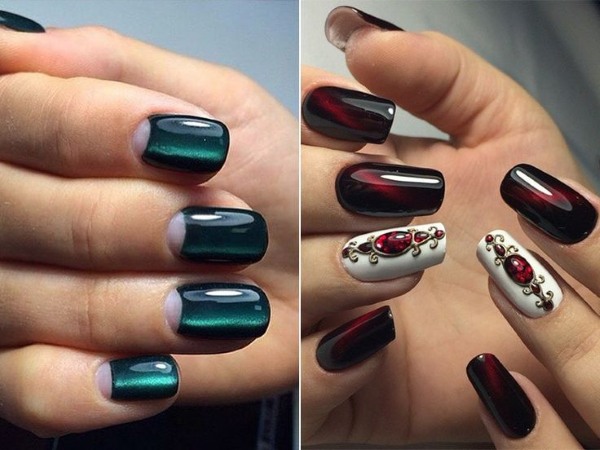
Shellac cat's eye
This is a spectacular version of manicure with the creation of the effect of chrysoberyl (a stone, popularly known as a cat's eye), achieved by attracting the smallest metal particles contained in the coating with a small magnet. Thus, fascinating overflows are obtained.
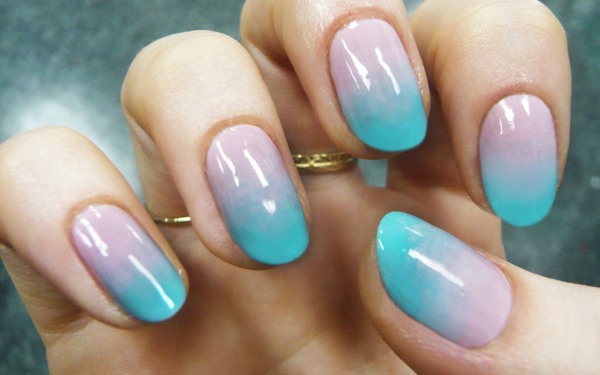
Gradient, ombre on nails with shellac
Gradient manicure is a beautiful variation of nail coverage, when one color smoothly transitions into another, while creating an effect as if the tips of the nails were dipped in paint or burned out in the sun.
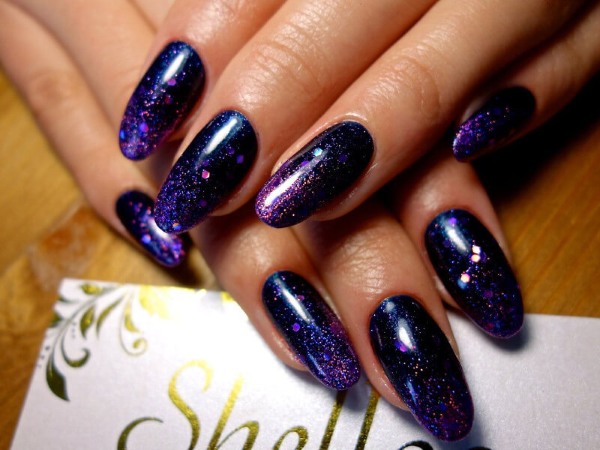
Shellac glitter
This variation of nail design is loved by many women, not only in shellac. All marigolds are decorated with sequins at once or some of them stand out.For decoration, sequins are used not only in different colors, but also in all kinds of shapes and sizes.
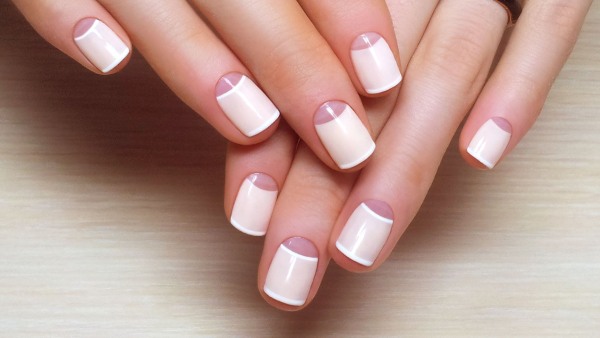
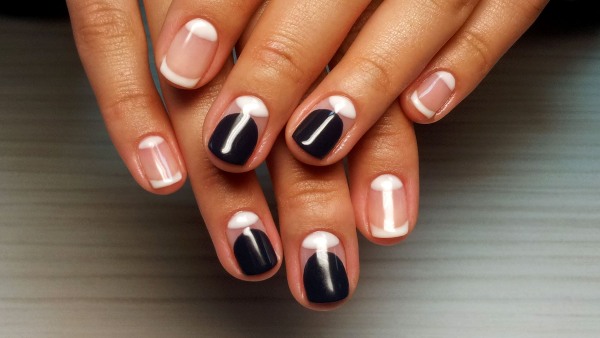
Moon shellac
In this design, the line of the hole at the base stands out in one of the ways. For example, it is painted over with a contrasting or similar color of varnish, sparkles, or remains completely uncoated with varnish, which has its advantage with the rapid growth of the nail.
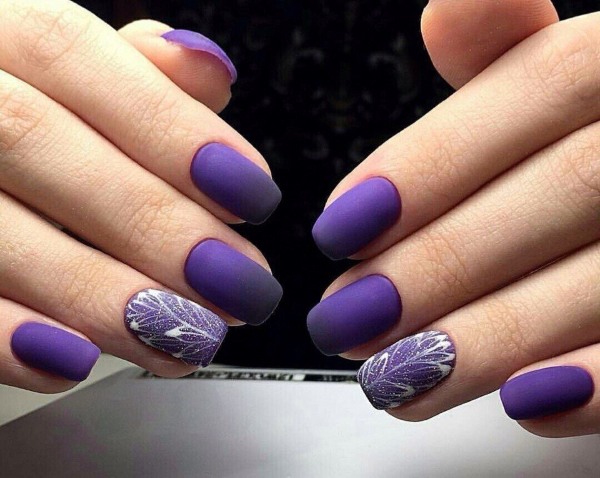
Matte shellac
The matte finish is confidently gaining its place among shellac lovers. It looks gentle, beautiful and neat. Such marigolds can be combined with glossy ones, or they can be decorated on top with drawings or appliques - these are matters of taste.
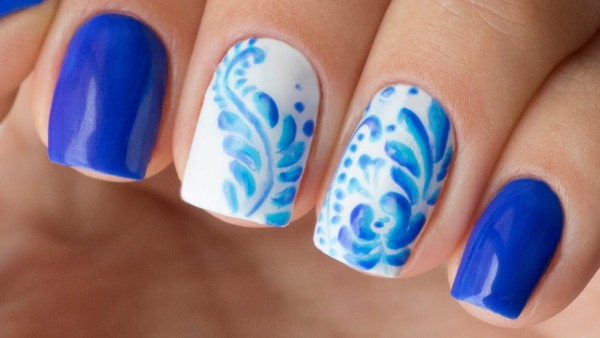
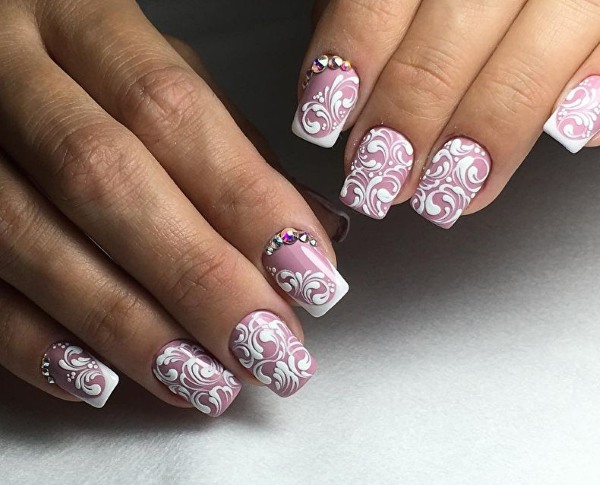
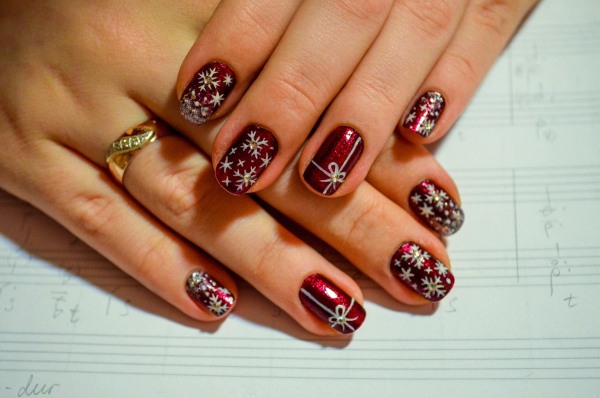
Shellac drawings
Drawings on nails are always relevant. As such, floral motifs, classical graphics, images of animals or imitation of a pattern of their skin or skins, thematic drawings, etc. can be applied to the nails. Drawings on the nails give a lot of room for imagination and self-expression.
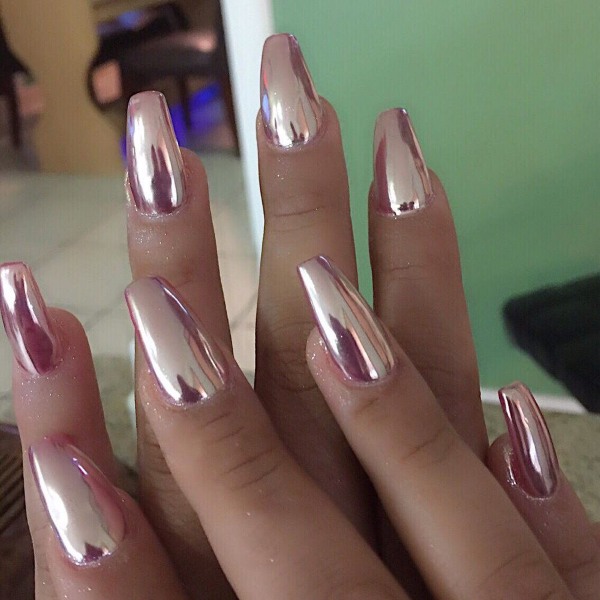
Mirror shellac
Recently, such shellac has gained particular popularity. Photos with a mirror effect look unusual. To achieve a similar effect, use special thermal stickers, foil, gel polish with a metallic sheen, mirror rub.
How to use shellac rub
When applying the rub, the standard processing of the nail plate and the application of the base and color layers are preliminarily carried out. The manicure procedure ends with the application of a top coat without a sticky layer. And only after that, using the applicator, the mirror pigment is rubbed into the nail plate. From above, all work is fixed with a standard top and polymerized in a lamp.
Why shellac peels off quickly
A well-applied coating should stay on the nails for at least two weeks, but it is not uncommon for the shellac to come off after a few days.
And there can be a variety of reasons for this:
- Mechanical damage.
- Incorrect manicure technique or the use of substandard materials.
- Exposure to aggressive household detergents. Gloves are recommended when handling them.
- Initially poor condition of nails: thin nail plate, soft and layered structure.
- Hormonal disruptions due to menstruation, pregnancy, oral contraceptives or other medications.
Can pregnant women do shellac
This question is relevant for many expectant mothers, since everyone wants to look beautiful without harming their child.

Shellac does not cause any harm and it is possible to perform it during pregnancy. But when doing the procedure in the salon or at home on your own, you should take into account your own characteristics and make sure that the procedure is carried out properly with high-quality materials and sterile instruments.
Shellac Cnd
This shellac is produced in the USA and stands out from other shellacs and gel polishes for its impeccable quality and ease of application.
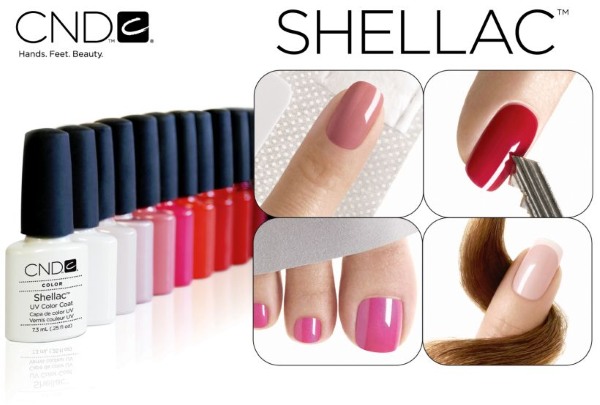
Shellac fits well on the surface of the nail and is excellently worn for a long period of time. It has a high cost, but it is justified by quality.
Shellac Bluesky
This is a budget representative of shellac, the production of which is located in China. And despite the association with the "Chinese", the Blueskay shellac is of high quality and has perfectly proven itself among many masters of famous salons.
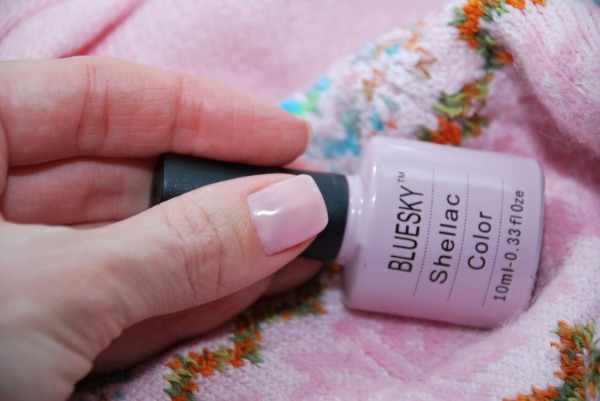
These varnishes have a texture of medium viscosity, which is applied in an even layer to the surface of the nail and does not spread over it. Holds well and does not fade under the influence of external factors. For its price - perfect.
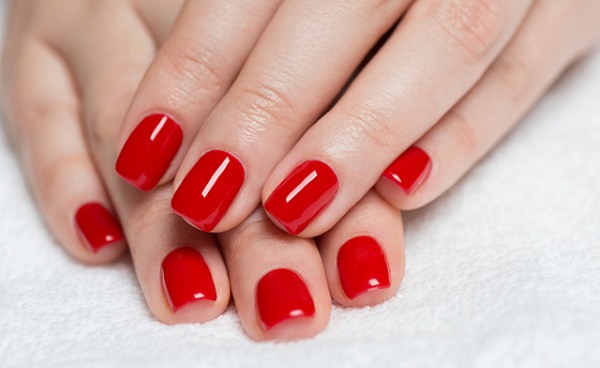
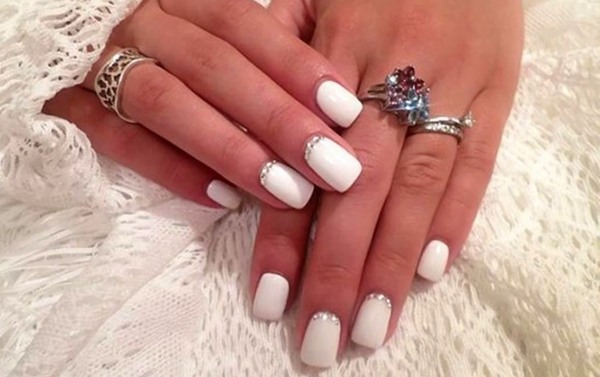
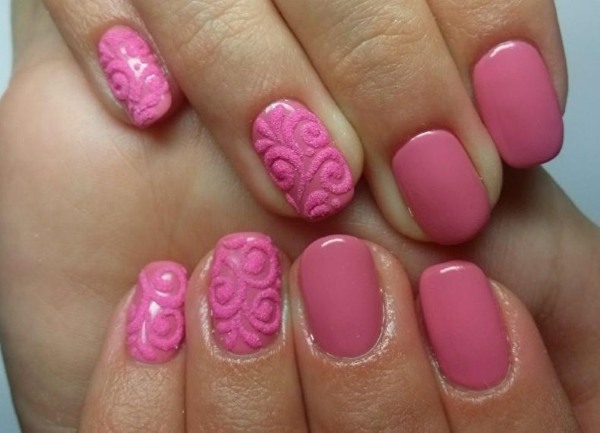
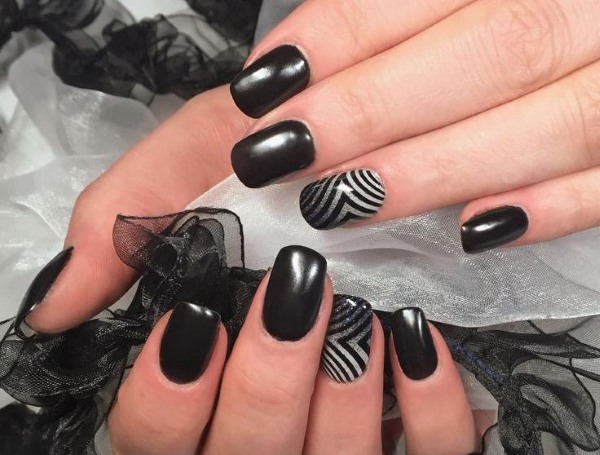
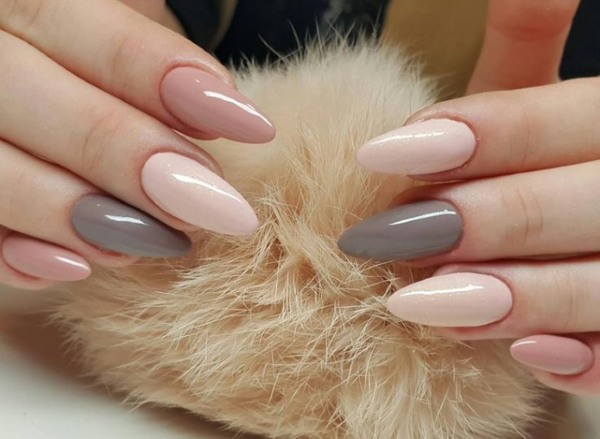
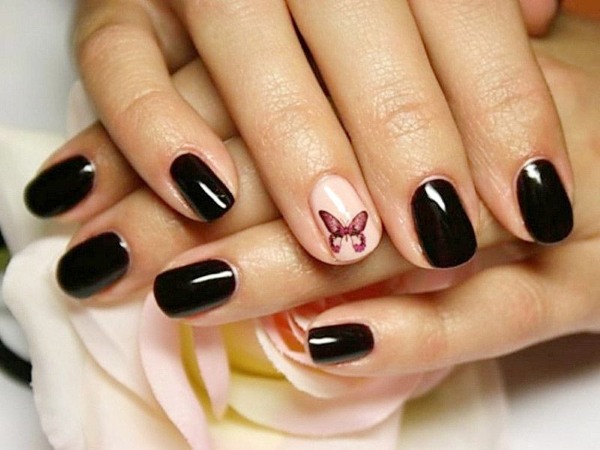
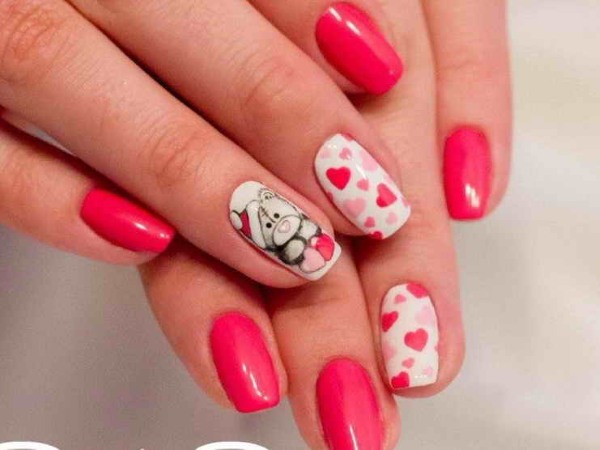
Photos of manicure designs with shellac (red, white, pink, black, beige)
Beautiful shellac for short nails - new photo

Shellac: photo, video
How to make shellac at home? Watch in the video clip:
Shellac: photo selection of nail designs, see the video clip:
https://www.youtube.com/watch?v=U0ToLJMmkqY
I really like the shellac coating because even after a week the shellac in reality and in the photo looks like I just left the nail salon, and this effect lasts up to three weeks of wearing. A plus is its quick removal, in contrast to gel polish, where cutting down alone takes some time and spoils the nails.
For myself, I choose shellac, I first look at the design photo for my manicure on the Internet and then show it to the master. I used to do the manicure myself, doing it consistently every 3 days, but now I only need one trip to the master in 2 weeks to bring beauty.
I make shellac every two weeks, periodically removing it completely so that my nails recover and rest. There are no shoals on my nails after removing. The coating itself is worn perfectly, there are no chips and cracks on the surface, and would make the correction even less often if it were not for the regrown nails that look untidy.
Photos of shellac, taken by craftsmen 2-3 weeks after wearing the coating, clearly show that shellac is a really noteworthy coating that is easy to wear and does not cause inconvenience during and after use.